 Friendship bracelets are dead easy to make! Every DIY fanatic should be rocking one.
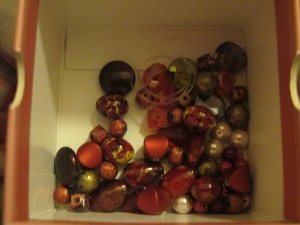
1. To begin with I raided my mum’s jewellery box and found some old necklaces/bracelets that she doesn’t wear anymore and destroyed them. Keep all the beads in a safe place, and make sure you have a variety of shapes/sizes.
2. Then you must find/buy thin elastic string – which is available from most department stores/haberdashery outlets. Measure the width of your wrist using a tape measure, and cut the appropriate amount of string – making sure you keep some length of elastic for you to tie at the ends.
 3. Then tie a double knot at one end of the elastic – you have to make sure that your beads do not slide off, so the knot has to be of an appropriate size.
4. Then comes the fun part – creating a cool design with all your beads and bobs. You could be very experimental and symmetrical or slap-dash and random. Whatever suits your look. Because there were lots of reds and pearly beads in among my selection, and also some very tiny beads, I decided to create a 2 teeny, 2 midi, 2 mega, and repeat design. There were some gorgeous marbled beads that particularly caught my eye so I made sure I used several of those.
5. When you have finished your design, you have to carefully (and I mean carefully or else you may have a mini-bead explosion) tie another knot round the other end of the elastic. Make sure you have left enough space on either side of the knots to tie it around your wrist – otherwise it may turn into a blue-hand fiasco.
6. The next stage is pretty tricky, so you may want to get a friend to help you. You have to wrap the bracelet around your wrist and tie it in place. Cutting off the excess elastic so it properly fits. Make sure it is slack enough to remove – or is easy to untie. This is quite difficult to do one handed (trust me) so please get someone to help you out. And be careful when handling scissors.


